Looking to get started with a hosting account from Verpex? In this article, we'll walk you through the process step-by-step.
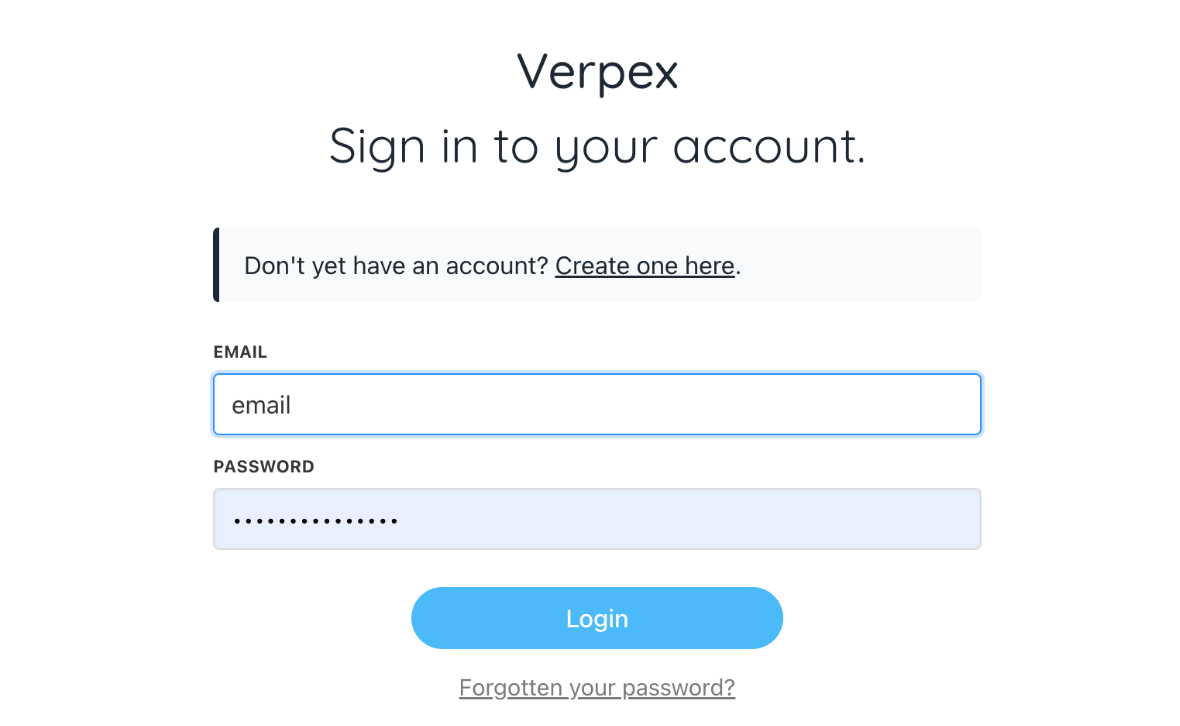
- Log in to your account on the Verpex website.
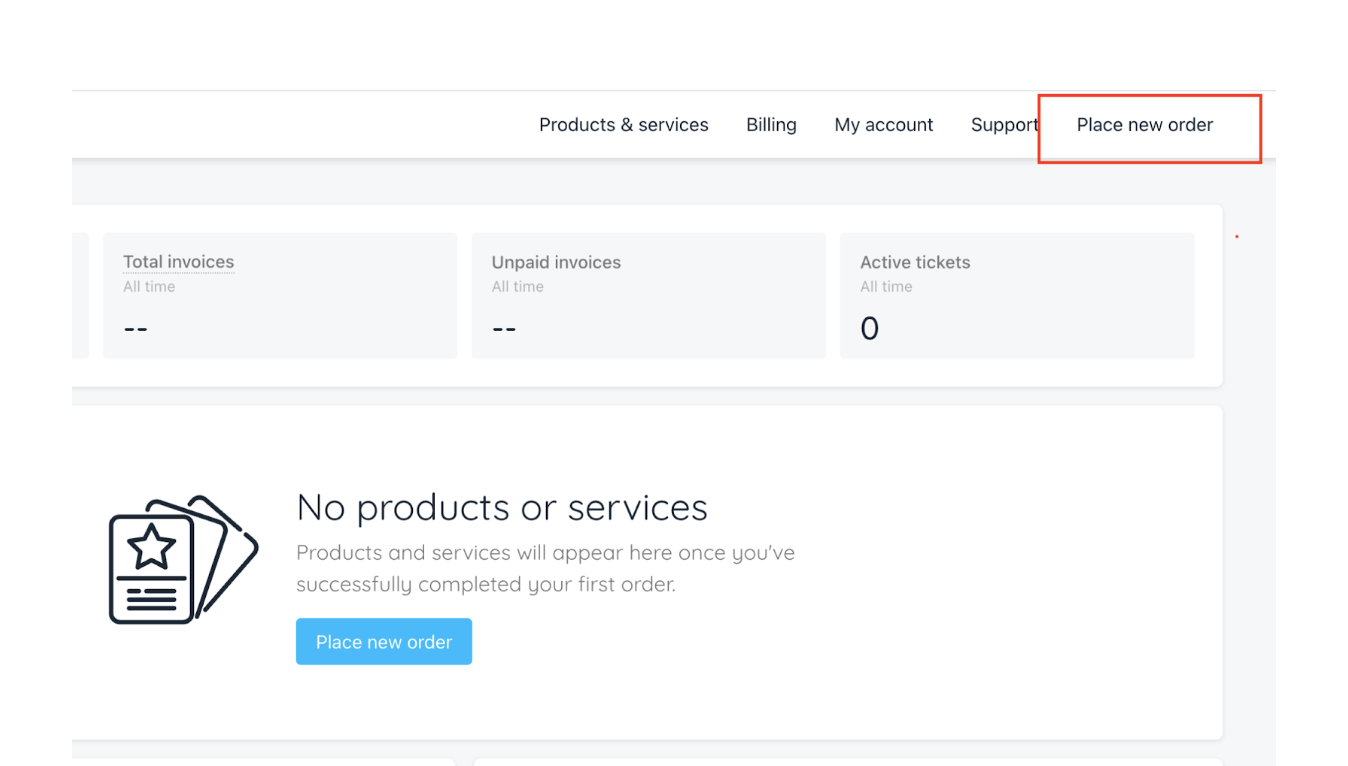
- Click on the "Place new order" tab on the top right corner.
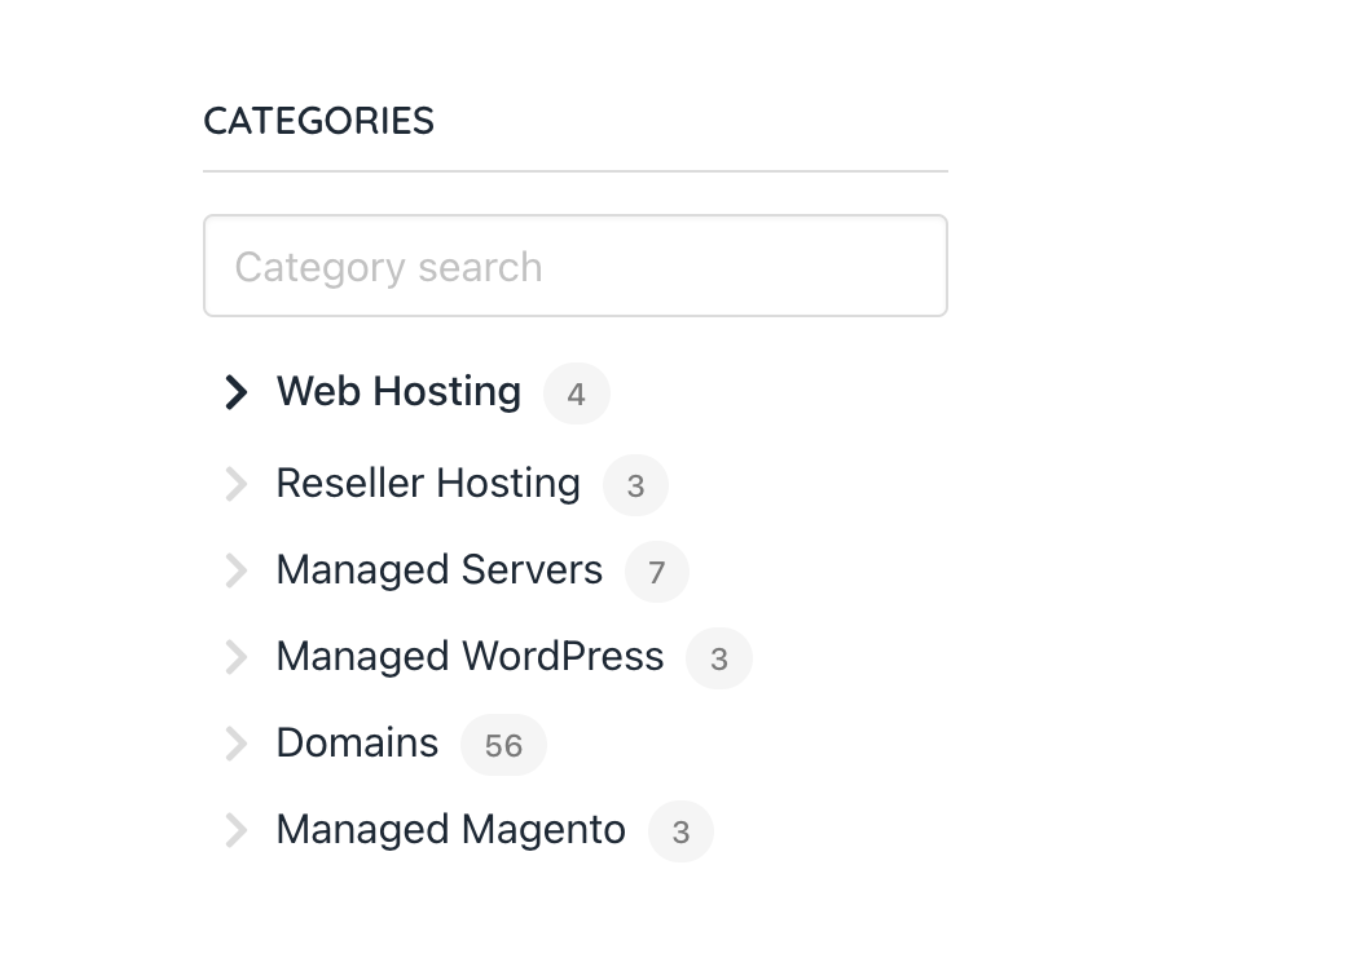
- On the left menu, you'll see the available options: "Web Hosting" or "Reseller Hosting".
- Click on whichever one you're interested in to learn more about our current offerings.
We offer unique hosting services for charities and nonprofits. Availability is limited and subject to verification. If you're interested in this option, be sure to get in touch with us as soon as possible to reserve your spot.
Hosting service details are just a click away. Simply click an icon and you'll get all the information you need to make a decision. So why wait?
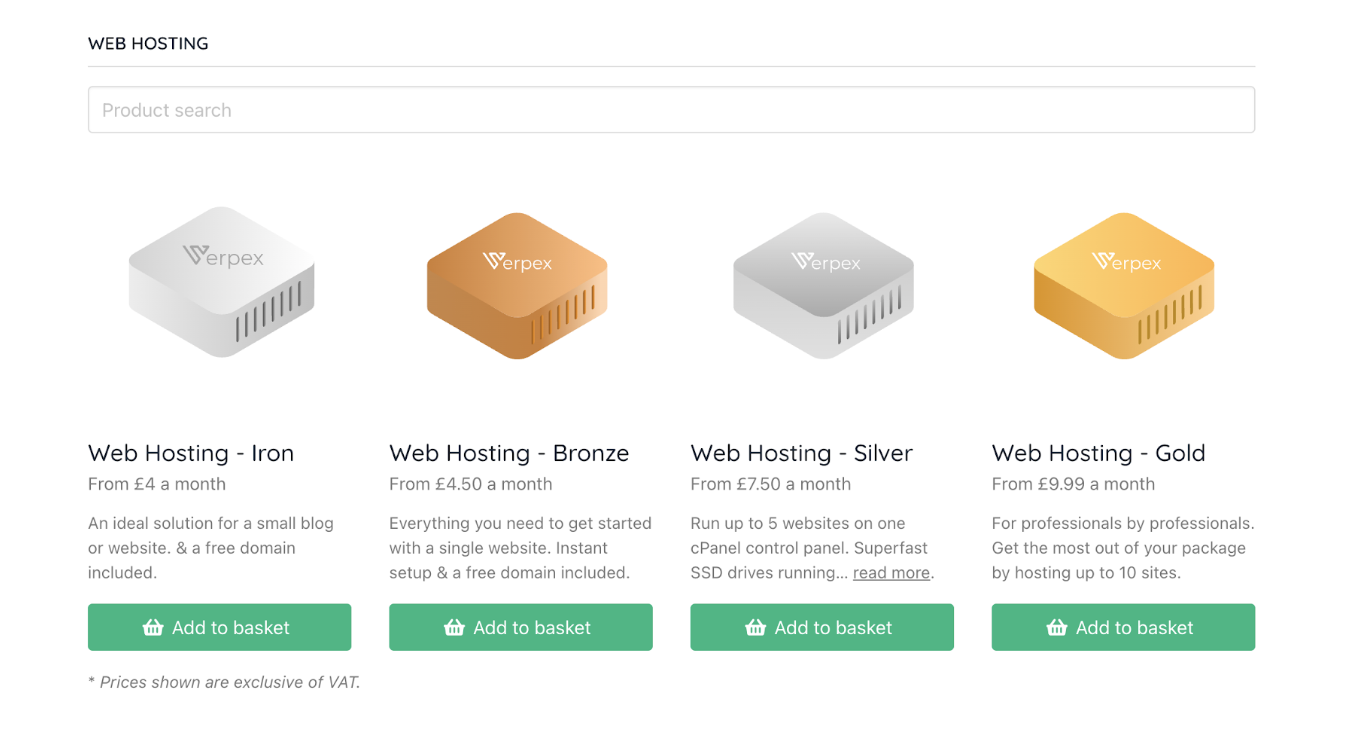
-
You can order our service by clicking the "Add to basket" button.
-
After reviewing the options, select a billing term.
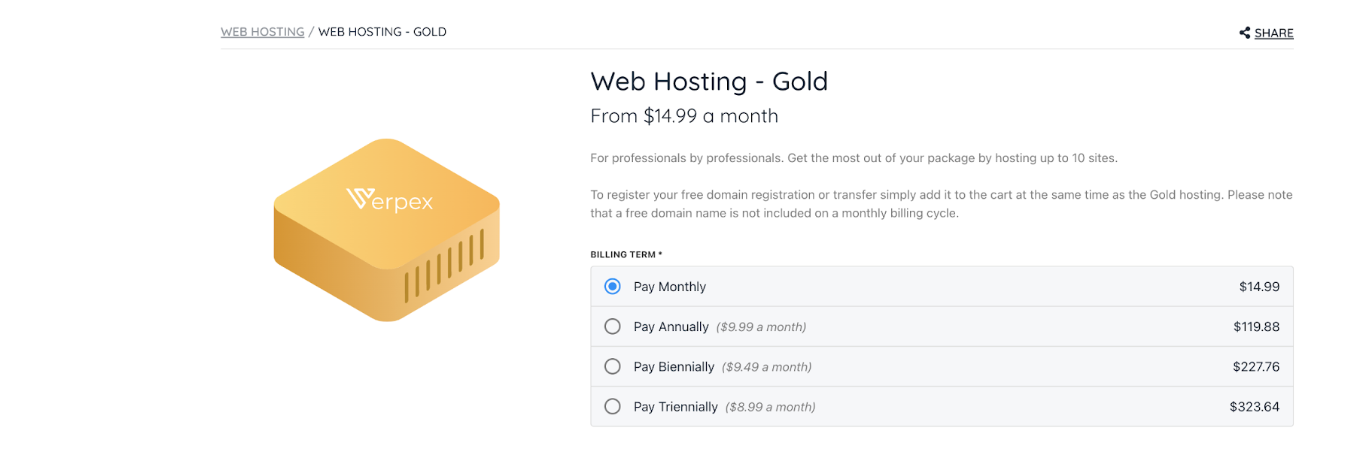
- Your next step is choosing your server location.
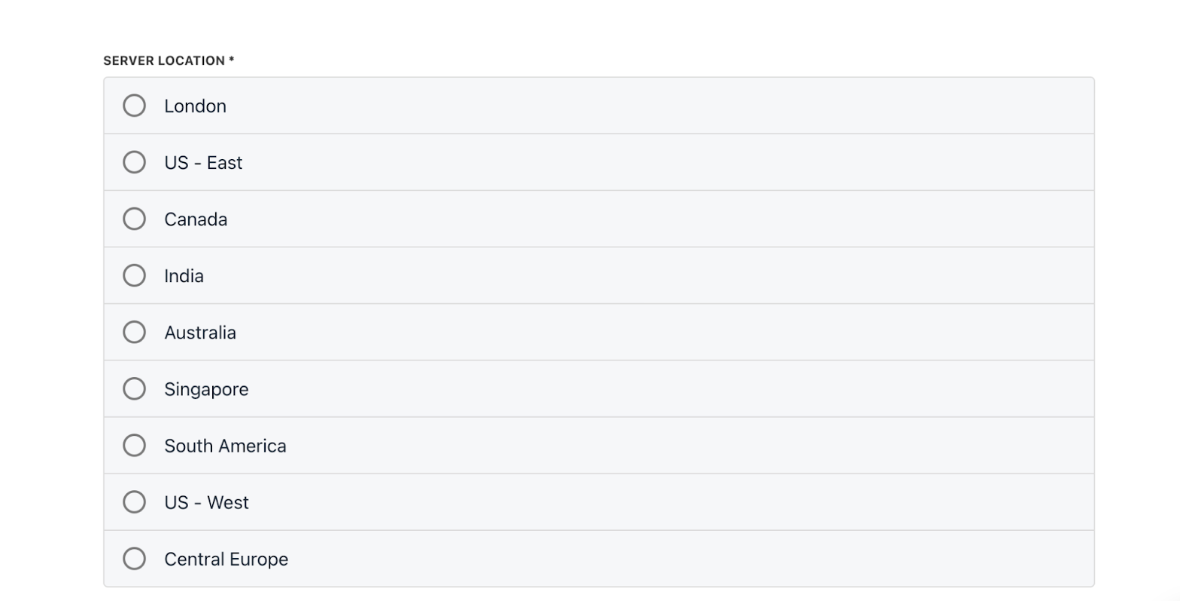
- Then, enter your account domain name before clicking "Add to basket" again.

-
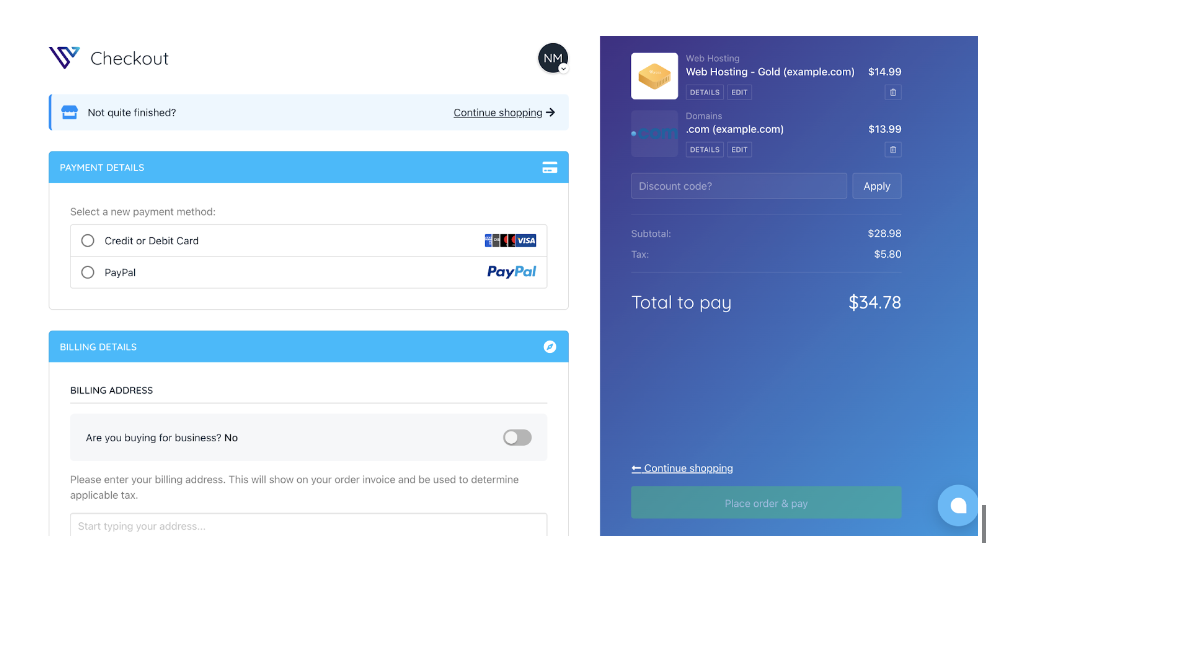
Review the order details and add a discount code if desired.
-
Finally, click "Continue to checkout" on the checkout page.
-
Enter your payment information and click "Place order & pay" to complete the transaction. You will see the "Order complete" page, and will also receive a confirmation email message.
